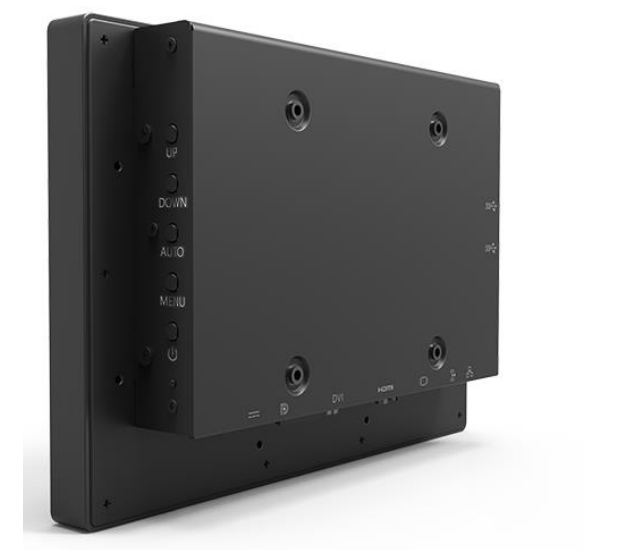
The mDisplay needs a power supply and two data connections, HDMI and USB. All three cables come with the mDisplay and are 1.5 m (about 5 ft) long. The ports on the mDisplay are on the bottom edge of its back panel.

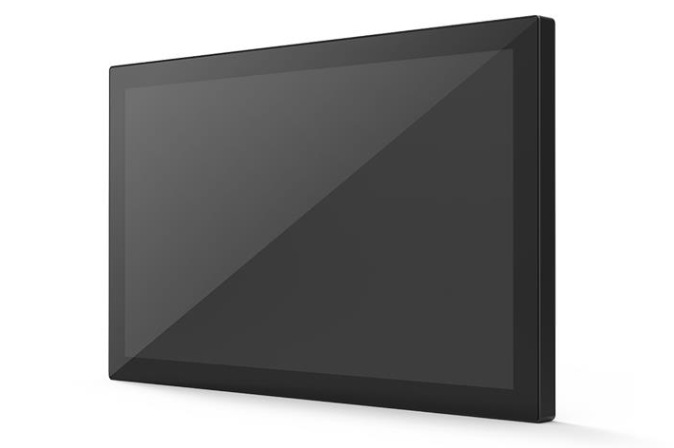
The mDisplay is a touch panel display that connects to the Messana Mini PC Through HDMI and USB cables. It lets you use the Messana App directly from the Mini PC, even without an internet or LAN connection.
This guide explains how to set up and connect the mDisplay. Read it carefully before you start, to avoid system malfunctions.
Before you connect the mDisplay to the Mini PC, enable its USB power from the display’s on-screen menu (OSD). The buttons for the menu are on the right side of the back of the display.
Menu buttons:
Button | What it does |
|---|---|
Power | Turns the mDisplay on or off |
MENU | Opens the on-screen menu and confirms a selection |
AUTO | Exits the on-screen menu |
UP | Moves up through the menu items |
DOWN | Moves down through the menu items |
Turn on USB power
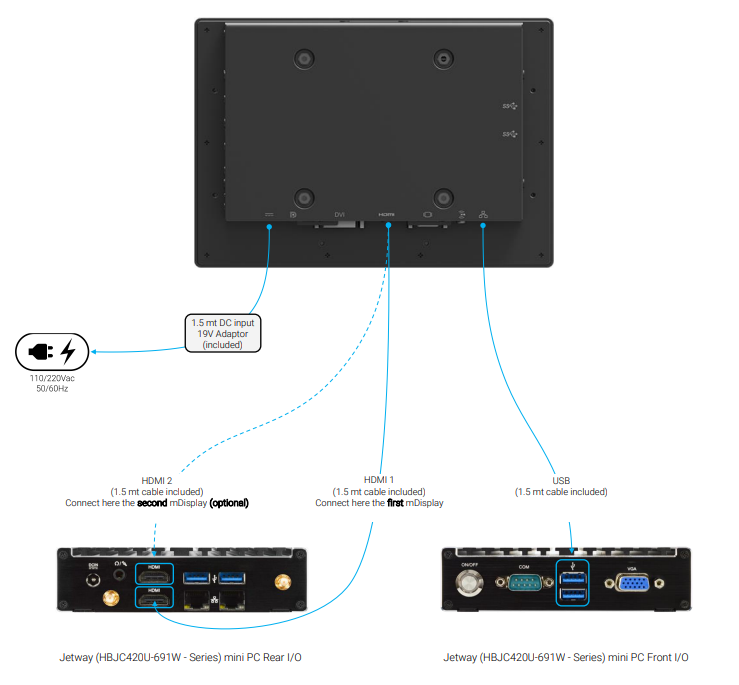
The mDisplay needs a power supply and two data connections, HDMI and USB. All three cables come with the mDisplay and are 1.5 m (about 5 ft) long. The ports on the mDisplay are on the bottom edge of its back panel.
Power
Connect the included 19 V power adapter to the DC input on the mDisplay, then plug it into the mains (110/220 Vac, 50/60 Hz).
HDMI
Connect the HDMI port on the mDisplay to the HDMI 1 port on the back of the Jetway (HBJC420U-691W series) Mini PC. If you are installing a second mDisplay, connect it to the HDMI 2 port. The second display is optional.
USB
Connect the USB port on the mDisplay to one of the USB ports on the front of the Mini PC.
Your form is being submitted, don’t close your browser.